A&ce Multi Trade Construction

Location: Swindon, Wiltshire
Member Since: 29th Jan 2024

About Us:

Welcome to A&C Multi Trade Construction

We are a dedicated team of carpenters committed to bringing your visions to life. With years of experience and a passion for craftsmanship, we take pride in every project we undertake.

Bespoke furniture
From custom-made wardrobes to unique shelving units, we specialize in creating bespoke furniture tailored to your preferences and space.

Kitchen fitting
We work with a variety of high-quality woods including oak, maple, and walnut, among others.
Our expert team will transform your kitchen with precision and care, ensuring a perfect fit and superior finish for your cabinets and worktops.

What types of wood do you work with?
We work with a variety of high-quality woods including oak, maple, and walnut, among others.

Do you offer free consultations?
Yes, we offer free consultations to discuss your project requirements and provide a tailored quote.

What is your typical project timeline?
The project timeline varies depending on the scope and complexity, but we strive to complete projects efficiently without compromising on quality.
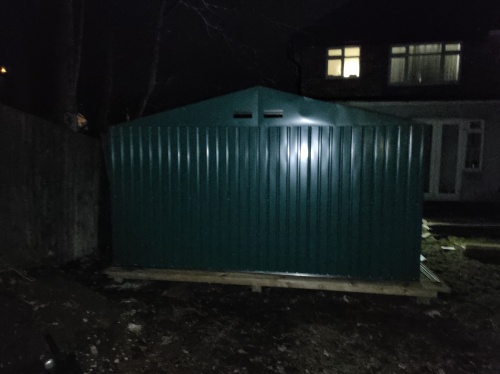
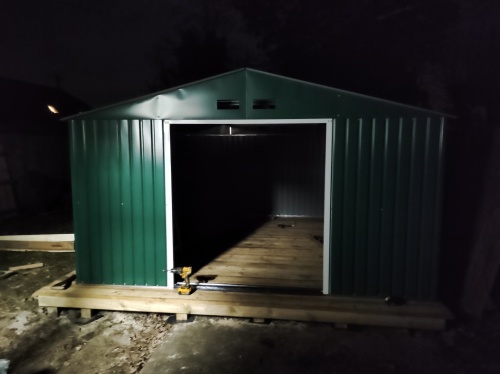
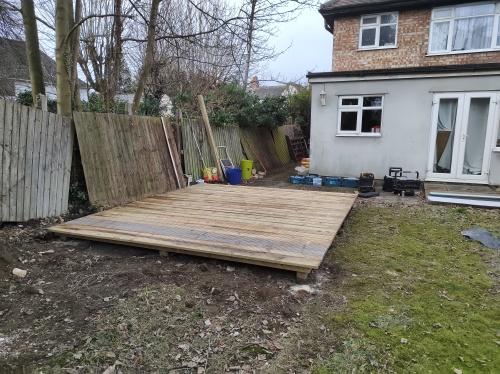
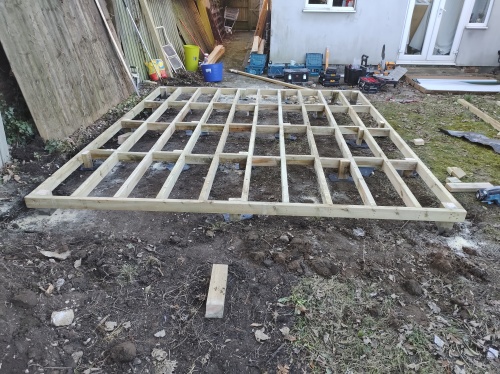
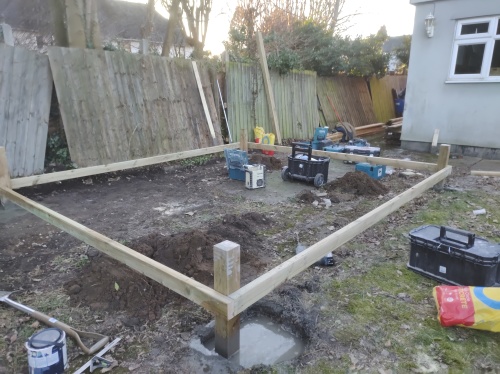
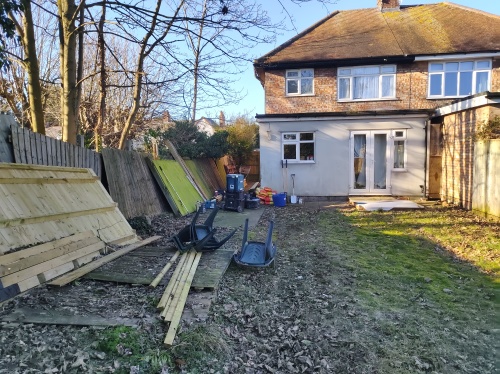
Feedback:

0 reviews

Answers:

This type of work is quite common and very achievable, as long as it is done correctly.
to brick up the external door, the existing door and frame would be removed first. the opening would then be built up using blocks or bricks to match the existing wall, tied into the surrounding masonry for strength. insulation and a damp-proof barrier would be included where required. a small window can be installed at the same time, with a proper lintel above it, and the external finish (brickwork or render) matched as closely as possible. internally, the wall would be plastered ready for painting.
for knocking through the small internal wall, the wall would first be checked to confirm whether it is load-bearing. if it is non-load-bearing, the opening can be formed without major structural work. if it is load-bearing, a suitable lintel or beam would need to be installed for support before removing the wall section. the opening would then be made good and plastered for a neat finish.
any existing plumbing and electrical services would need to be checked and possibly adjusted to suit the new layout, but the fact that appliances are already in use is a good sign.
overall costs will depend on wall thickness, finishes, window size, and whether structural support is required, but this would generally be considered a small to medium building project.
1.if the seal around a shower tray has failed and is leaking badly, the first and most important step is to remove all of the old sealant completely. any new product applied over existing or contaminated sealant will fail again very quickly.
once removed, the surfaces must be thoroughly cleaned and dried. this includes removing soap residue, mould, and any moisture. the joint should then be checked for movement or gaps, as excessive movement usually indicates that the shower tray is not fully supported underneath.
plumber’s mait is not recommended for sealing around shower trays. it is not designed for constant water exposure and will not provide a long-term waterproof seal.
the best solution is to use a high-quality sanitary silicone sealant, specifically designed for bathrooms and wet areas. where there is movement, a flexible, mould-resistant silicone should be used. the sealant should be applied neatly in one continuous bead and tooled properly to ensure full contact with both the tray and the wall tiles.
if movement is excessive or leaks persist, the tray may need to be re-seated or supported correctly before resealing. done properly, this will provide a long-lasting, watertight finish.

2. another option is to use a waterproof sealing tape (often referred to as “no more leaks” tape), but this is only effective if it is installed correctly.
for best results, the shower tray normally needs to be removed. the tape is designed to sit behind the tiles and overlap the tray, creating a hidden waterproof barrier. this means the tray is taken out, the tape is fixed to the wall and floor junction, and then the tray is refitted before the final silicone seal is applied.
simply sticking this type of tape over the top of an existing tray without removing it is not a long-term solution and often fails.
in most cases, a properly supported tray sealed with high-quality sanitary silicone is sufficient. waterproof tape is usually recommended where there has been previous leakage or where extra protection is required, but it involves more labour and cost due to removing and refitting the tray.
As the wall in question is a supporting (load-bearing) wall, it should not be removed without providing proper structural support.
for an opening of around 1.8m, it is sometimes possible to use a suitable lintel instead of an rsj, but this depends entirely on what load the wall is carrying above. the fact that there is a stack of bricks in the loft supporting a beam across the roof suggests that this wall is taking structural load, so this needs to be assessed properly.
a timber frame or bracket solution built by a joiner would generally not be considered an appropriate structural replacement for a load-bearing wall unless it has been specifically designed by a structural engineer.
even though the opening is under 3 metres, building regulations still apply when altering or removing a load-bearing wall. in most cases, building control approval is strongly recommended to ensure the correct support is installed and to avoid issues when selling the property in the future.
the safest and most professional approach is to have the wall assessed by a structural engineer, who can specify whether a lintel or steel beam is required. this specification can then be submitted to building control for approval.
in short, both suggested options may work in certain situations, but they should be properly designed and approved. taking the building regulations route provides peace of mind and protects you long-term.
This is a very common issue when dealing with older cast iron soil stacks.
flexible pan connectors are generally not designed to seal directly into cast iron, especially where the internal diameter is irregular or flared, as in your case. this is why you are struggling to find a suitable flexi connector to fit properly.
the correct solution is to use a cast iron to plastic adaptor, often called a ci to pvc soil adaptor or a rubber compression adaptor. this type of fitting is designed to clamp securely onto the cast iron pipe and provide a standard 110mm plastic outlet that a modern pan connector can then connect to.
in some cases, the cast iron opening may need to be cleaned back thoroughly and measured accurately, as old stacks can vary in size. a rubber adaptor with a wide tolerance range is usually required.
if the cast iron is badly corroded, cracked, or out of shape, the best long-term solution may be to cut back the cast iron stack and convert to plastic at a suitable point using a proper conversion coupling.
avoid using sealant alone or improvised fixes, as these will almost certainly leak over time. using the correct adaptor will give you a secure, serviceable, and regulation-compliant connection.

Would you like a quote from this tradesperson?

Invite them to quote for your job & get a fast response.
  • Other tradespeople may express their interest as well.
Get in touch with this tradesperson