
Cheap Painting And Decorating Services
Location: Walsall, Staffordshire
Member Since: 13th Mar 2024
Feedback:
0 reviews
About Us:
???? **Welcome to Cheap Painting and Decorating Services!** ?????
We specialize in transforming spaces into works of art through our expert painting and decorating services. With years of experience and a passion for creativity, our team is dedicated to delivering high-quality results that exceed your expectations.
Whether you're looking to refresh your home's interior, enhance your commercial space, or add a splash of color to your exterior, we've got you covered. From selecting the perfect color palette to meticulous attention to detail, we ensure every project reflects your unique style and vision.
Customer satisfaction is our top priority, and we strive to provide a seamless experience from start to finish. Let us bring your ideas to life and elevate your space with our professional painting and decorating services.
Contact us today to schedule a consultation and let's transform your space together!
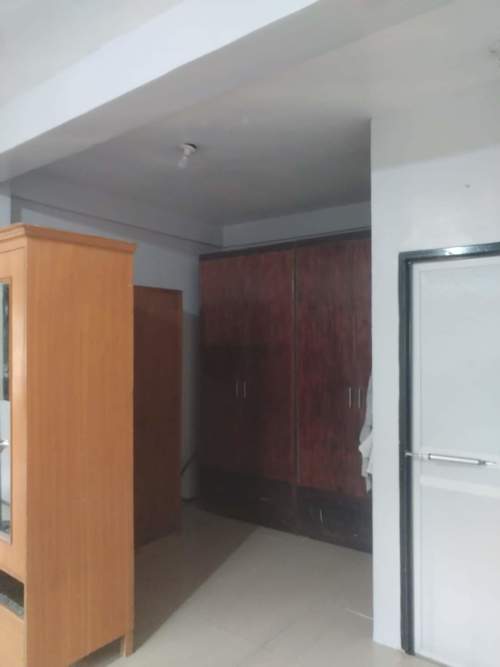
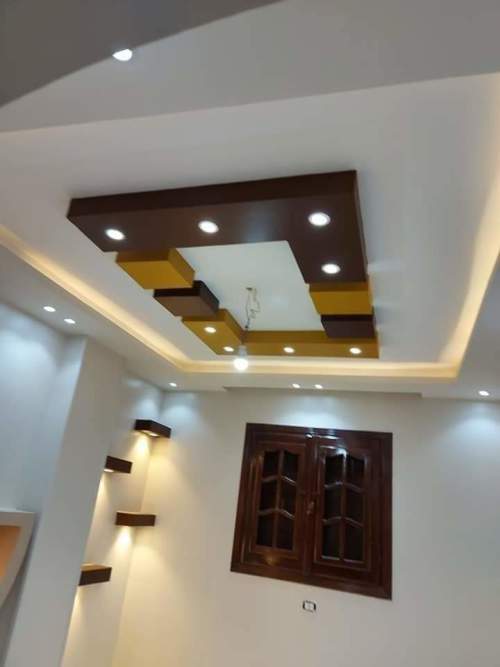
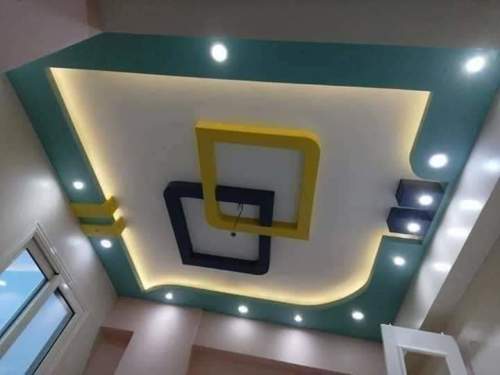
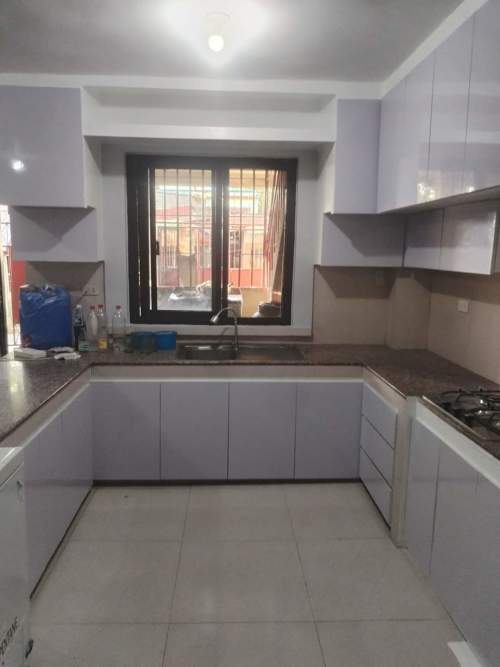
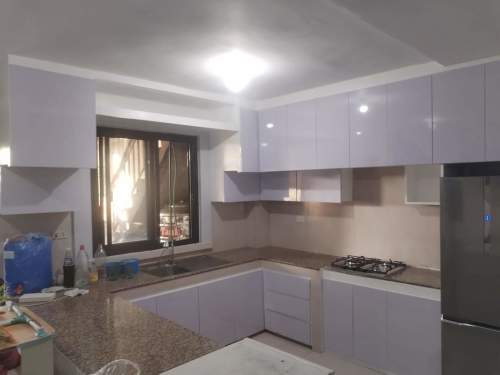
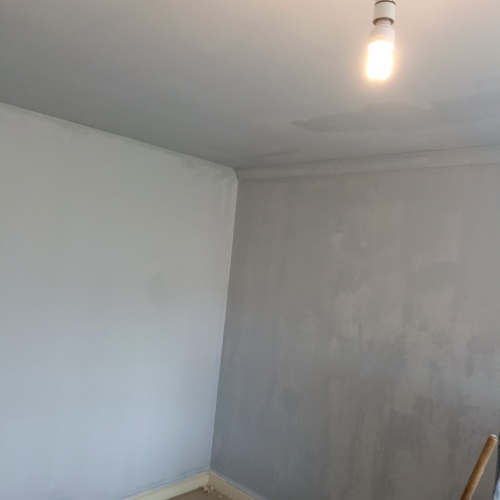
Photos:
Feedback:
0 reviews
Answers:
Yes, it's generally recommended to paint the door frames before hanging the doors. this allows for easier access to all surfaces of the frame and ensures a more thorough and professional finish. once the frames are painted and fully dried, you can then hang the doors without worrying about accidentally getting paint on them during the process.
It's generally best to follow the manufacturer's recommendations when it comes to adhesives for specific types of wallpaper. using the recommended adhesive ensures the best results and longevity for your wallpaper application. however, if solvite wallpaper paste is compatible with the erfurt fibrelining paper according to the manufacturer's instructions, then it should be suitable to use. always double-check the compatibility and application instructions to ensure a successful installation.
Bubbling and flaking paint on the exterior wall of your house typically indicate moisture issues or poor adhesion. here's what you can do to tackle this:
1. **inspect for water damage:** check for any leaks or water damage that may be causing moisture to penetrate the wall. repair any damaged areas and ensure proper drainage away from the wall.
2. **remove loose paint:** use a scraper or wire brush to remove any loose or flaking paint from the surface. this will provide a clean and smooth base for the new paint.
3. **sand and clean:** after removing loose paint, sand the surface lightly to smooth out any rough areas. clean the surface thoroughly to remove dust, dirt, and debris.
4. **primer:** apply a high-quality exterior primer to the entire surface. primer helps to seal the surface and improve adhesion of the new paint.
5. **paint:** once the primer is dry, apply a high-quality exterior paint suitable for your wall surface. it's best to use a paint specifically designed for outdoor use and to follow the manufacturer's instructions for application.
6. **maintain:** regularly inspect and maintain your exterior walls to prevent future issues. keep an eye out for any signs of peeling or bubbling paint and address them promptly.
if you're unsure about any step or if the damage seems extensive, consider consulting a professional painter or contractor for further assistance.
It sounds like you've done the right steps in terms of priming and painting, but the issue might be with the sanding technique or the type of paint used. here are some possible reasons why sanded areas on walls might show up after painting:
1. **insufficient sanding:** if the raised areas or marks on the walls weren't sanded down enough to create a smooth surface, they may still be visible under the new paint. ensure that you sand the areas thoroughly until they are completely smooth and blend seamlessly with the surrounding surface.
2. **type of paint:** the type of paint used can affect how well imperfections are covered. flat or matte finishes tend to highlight surface imperfections more than satin or semi-gloss finishes. consider using a paint with a higher sheen to help mask imperfections.
3. **paint application:** make sure you're applying the paint evenly and using the appropriate technique to minimize the visibility of sanded areas. apply thin, even coats and use a roller or brush to blend the paint seamlessly over the sanded areas.
4. **primer coverage:** ensure that the primer has been applied evenly and covers the sanded areas completely before applying the topcoat of paint. in some cases, additional coats of primer may be necessary to achieve adequate coverage.
5. **drying time:** allow each layer of primer and paint to dry completely before applying the next coat. rushing the drying process can lead to uneven coverage and visible imperfections.
if you've addressed these potential issues and the sanded areas are still showing through, you may need to consider alternative methods such as skim coating or using a different type of paint. if you're unsure, consulting a professional painter or decorator for advice can be helpful.
You're correct that removing and reapplying tape between coats can be tricky and may result in difficulty matching the same line. here are some tips to consider:
1. **wait for the first coat to dry:** if you're using frog tape, you can wait for the first coat of paint to dry completely before removing the tape. frog tape is designed to create sharp lines even when applied to dried paint.
2. **touch up as needed:** after removing the tape, inspect the edges and touch up any areas where the paint may have bled or where the line isn't crisp. use a small brush to carefully apply paint where needed.
3. **be careful when removing tape:** when removing the tape, do so slowly and at a 45-degree angle to avoid pulling off any paint. if the tape is difficult to remove, you can use a utility knife to score along the edge of the tape before pulling it off.
4. **consider alternatives:** if you're concerned about reapplying tape for the second coat, you can try cutting in by hand using a high-quality brush instead. this may take more time and practice but can yield excellent results without the need for tape.
ultimately, the decision depends on your preference and comfort level with using tape versus cutting in by hand. experiment with different methods to see which works best for you.
Would you like a quote from this tradesperson?
Invite them to quote for your job & get a fast response.
- Other tradespeople may express their interest as well.